Starting Tomatoes From Seed, Week by Week
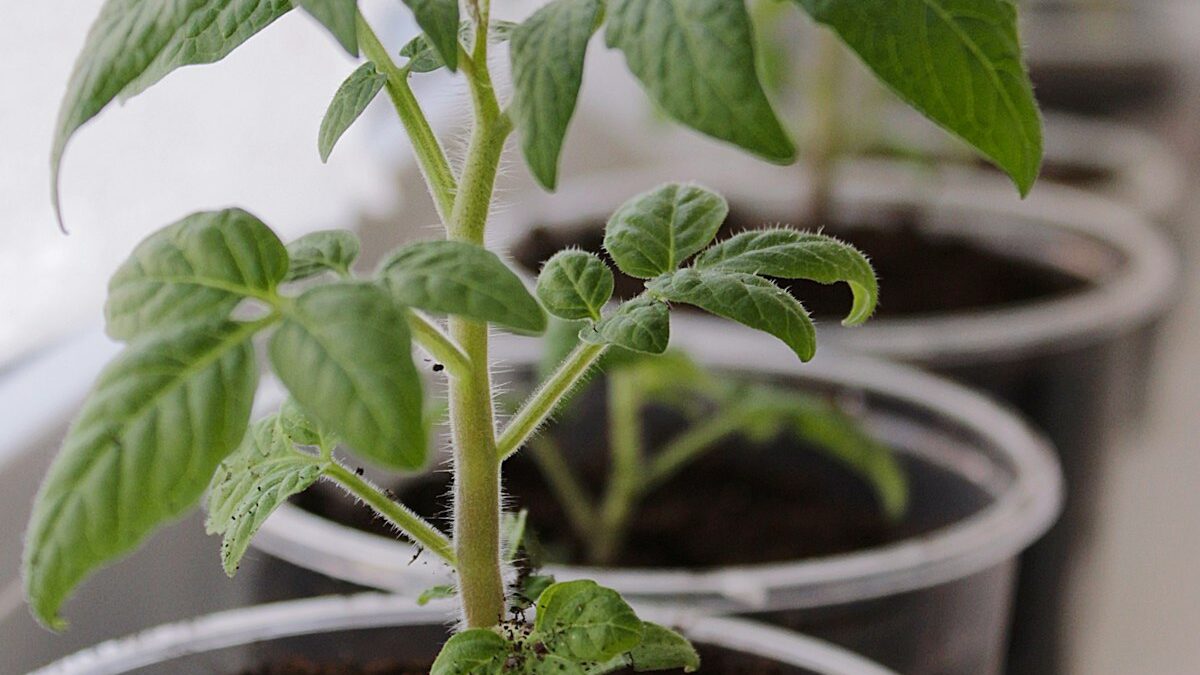
Buying tomato transplants at the garden center in May is fine, and most seasons we still buy a couple ourselves to fill gaps. But starting from seed is the only way to grow the varieties that never show up as transplants — the odd paste tomato your grandmother grew, the orange beefsteak with the name nobody can pronounce — and it's dramatically cheaper if you're planting more than four or five plants. This is the timeline we actually follow, counting backward from our last frost date, with the mistakes we've made at each stage so you don't have to repeat them.
What you actually need
This isn't a big shopping list, and that's sort of the point — tomato seed starting is one of the cheaper things you can do in a garden. A bag of seed-starting mix, a few seed packets, and something to hold them in is genuinely enough to start.
- Seed-starting mix (not garden soil, not potting soil) — one 8-quart bag covers about two dozen cells.
- 3–4 seed packets if you're trying a few varieties — tomato seed stays viable for several years, so packets you don't use this year aren't wasted.
- Cell trays, yogurt cups, or anything with drainage holes punched in the bottom.
- A sunny south-facing window, or a simple clip-on grow light if your windowsill isn't cutting it.
A seedling heat mat and a cheap grow light make the process easier and the seedlings noticeably stockier, but neither is required to get a tomato plant from seed to transplant.
Weeks 1–2: sowing and germination
Moisten the seed-starting mix before you fill cells — dry mix repels water and you'll end up with dry pockets no matter how long you water from the top. Sow seed 1/4 inch deep, two seeds per cell as insurance, and keep the tray somewhere that stays 70–80°F. On top of the refrigerator works if you don't have a heat mat. Most varieties germinate in 5–10 days; once you see the first sprouts, move the tray into bright light immediately — this is the single most common place people lose seedlings to leggy, falling-over stems, because the seedling stretches desperately toward whatever dim light is available.
Weeks 3–4: thinning and potting up
Once both seeds in a cell have sprouted, snip (don't pull) the weaker one at the soil line to avoid disturbing the roots of the one you're keeping. When true leaves appear — the second set, which actually look like tomato foliage rather than the rounded seed leaves — it's time to pot up into something larger, usually a 3–4 inch pot. Bury the stem right up to the first set of true leaves when you pot up; tomatoes grow roots along any buried stem section, and a deeply potted seedling ends up with a noticeably stronger root system by transplant time.
Weeks 5–6: building a stem that doesn't need staking later
This stretch is about light and airflow, not watering. Seedlings need 14–16 hours of light a day to stay compact; a sunny window alone usually isn't enough hours even if it feels bright, which is the most common reason people end up with tall, floppy seedlings by this stage. Run a small fan on low for a couple of hours a day, or brush your hand lightly over the tops of the seedlings once a day — either one simulates the wind stress that makes stems grow thicker instead of taller.
- If seedlings are leaning hard toward the window, rotate the tray a quarter turn daily.
- Yellowing lower leaves at this stage is usually a nitrogen request, not a disease — a half-strength balanced liquid feed every other week is plenty.
- Keep the mix evenly moist, not wet; soggy mix at this stage is the main cause of damping-off.
Weeks 7–8: hardening off
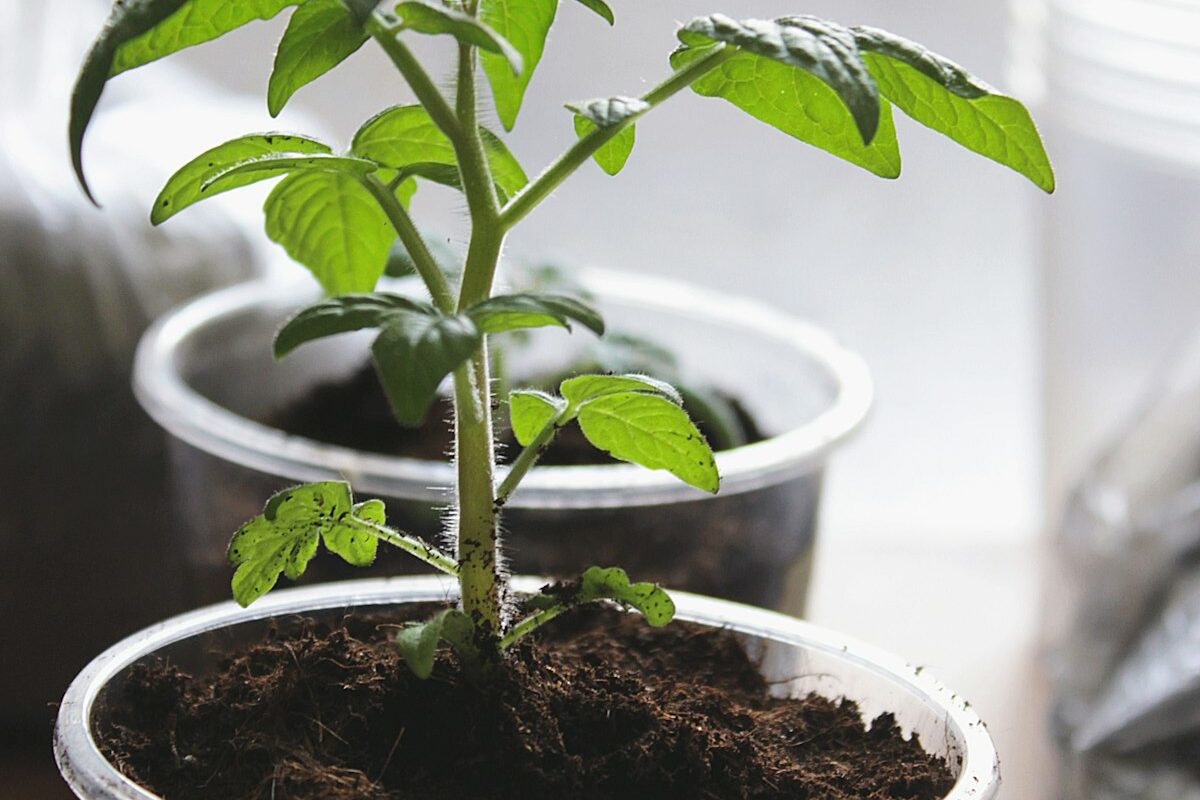
Hardening off is the step most likely to get skipped under time pressure, and skipping it is the step most likely to cost you the whole seedling. A plant that's spent eight weeks under gentle indoor light will sunburn and wind-shock badly if you move it straight outside into full sun. Start with an hour of filtered shade on day one, add an hour a day, and don't put seedlings in direct midday sun until day five or six. By day seven to ten they should be able to handle a full day outside, and they're ready to go in the ground.
Zone and season: when to start and when to transplant
| Zone | Start seed indoors | Transplant outdoors |
|---|---|---|
| 3–4 | Late March | Early-to-mid June |
| 5–6 | Mid March | Mid-to-late May |
| 7–8 | Late February | Mid April |
| 9–10 | Mid January | Early March |
Count backward eight weeks from your zone's transplant date to find your sow date. Starting earlier than eight weeks rarely helps — an overgrown, root-bound seedling that's spent too long in a small pot transplants worse than one started right on schedule.
What we'd tell a first-timer
If you only take one thing from this: buy more light than you think you need and don't start earlier than the eight-week window. Every leggy, sad seedling we've ever grown traces back to one of those two mistakes, and both are completely avoidable once you know to watch for them.
One more thing worth planning for before you sow a single seed: decide now where these seedlings are actually going to live for eight weeks. A sunny windowsill sounds like plenty of room until you've got two dozen cells in trays, a heat mat, and maybe a grow light all competing for the same stretch of counter. We've found it easier to pick a dedicated spot — a spare table, a shelf near a window — before sowing rather than improvising it week by week, because moving an established tray partway through tends to set growth back by several days while the seedlings adjust to a new light angle.